Akai MPC 2000XL IDE / ATAPI Hot Swap Card Reader Kit | bignoisempc.com
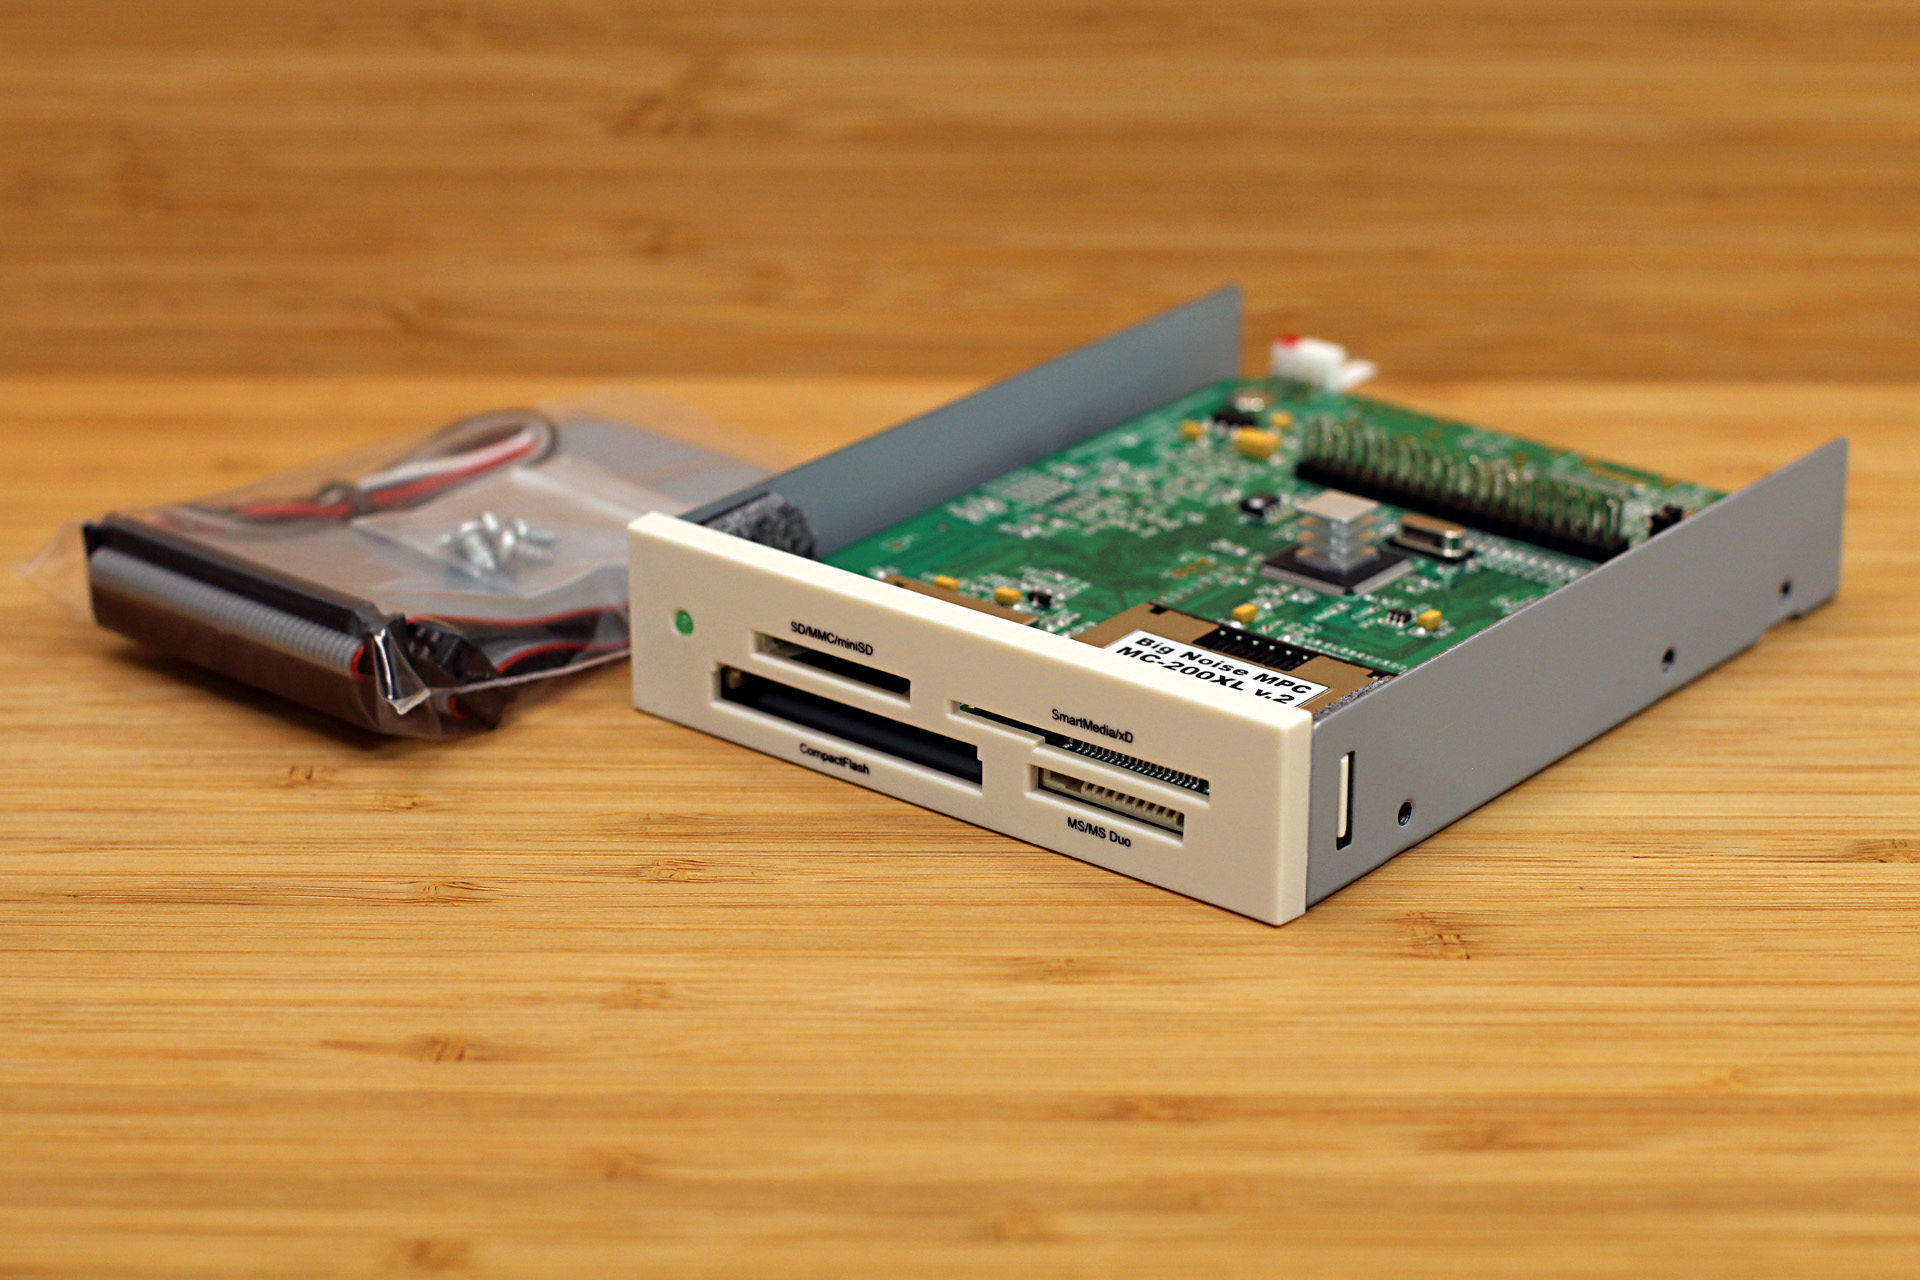
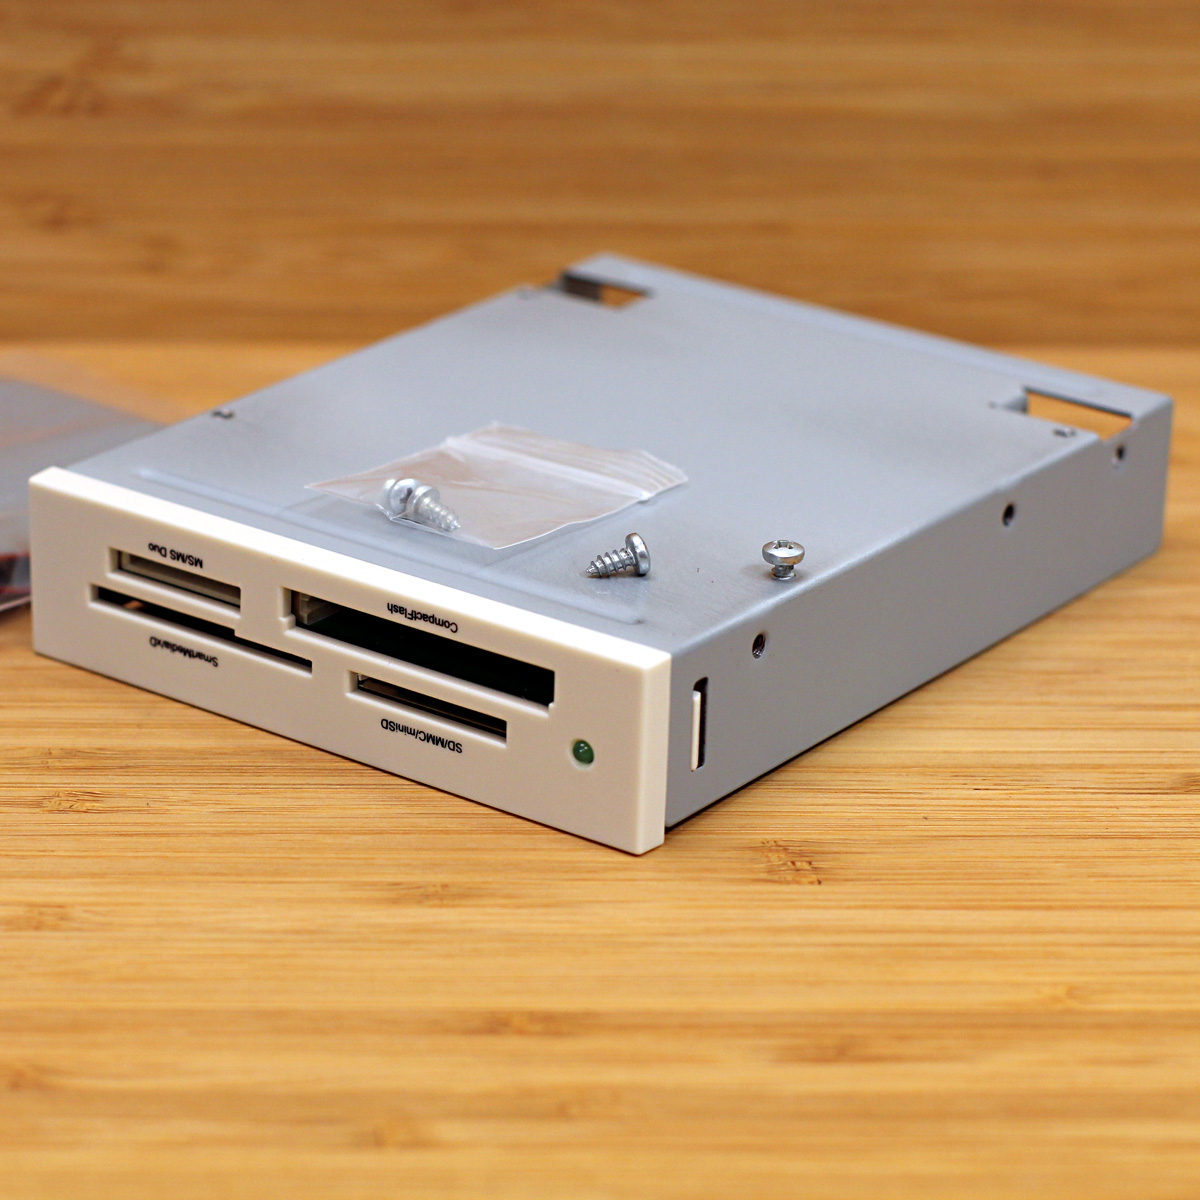
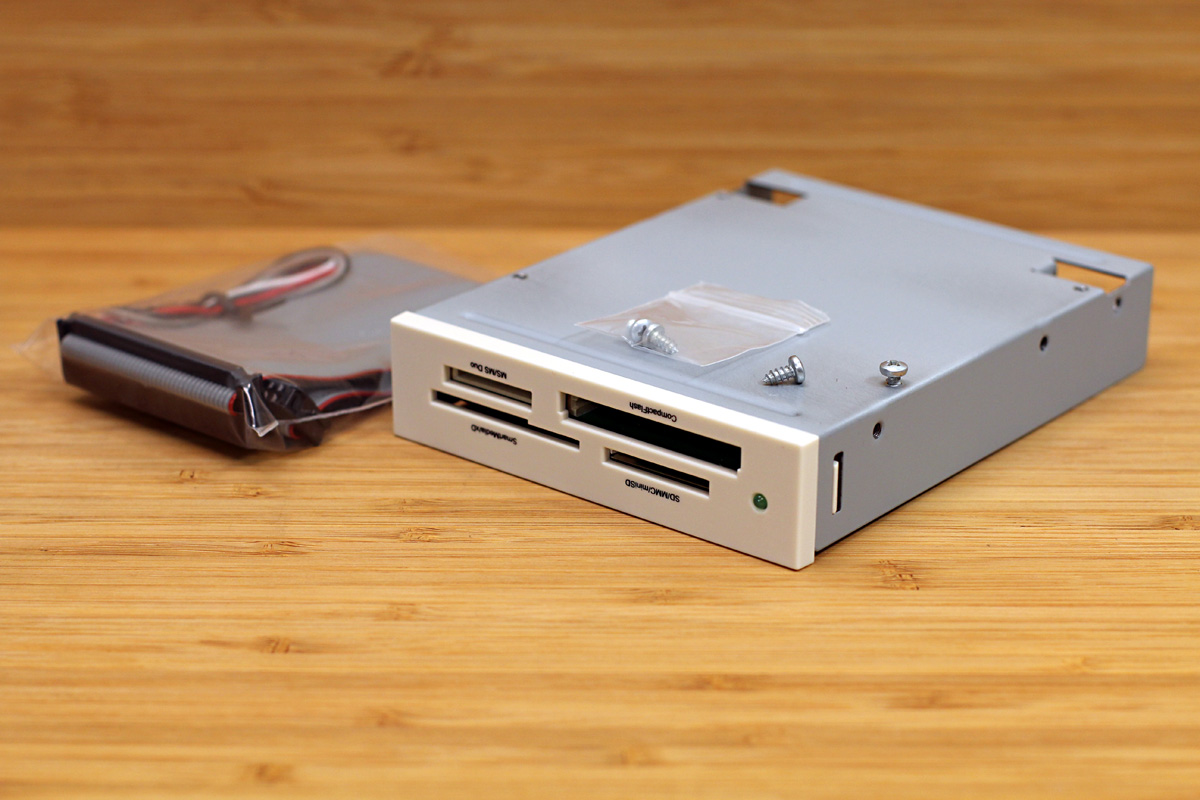
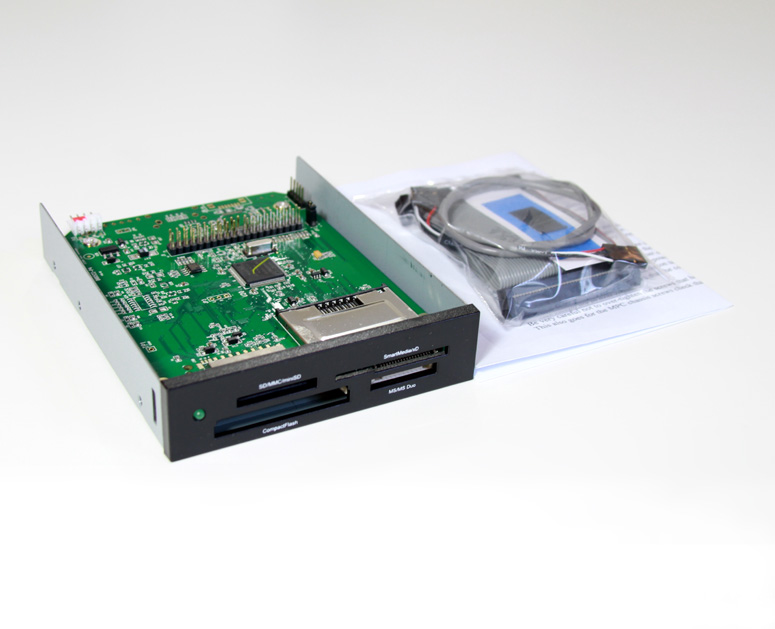
This amazing Akai MPC 2000XL Hot Swap multi Card Reader Kit works perfectly, SD & CF media can be inserted and removed with the MPC turned ON!

Akai MPC 2000XL IDE / ATAPI Hot Swap Card Reader Kit | bignoisempc.com

Akai MPC 2000XL IDE / ATAPI Hot Swap Card Reader Kit | bignoisempc.com

Akai MPC 2000XL IDE / ATAPI Hot Swap Card Reader Kit | bignoisempc.com

MCD V2 Manual

Tacticle Drums Coverart v01

MCD-2000XL_775front

Akai MPC 2000XL ATAPI / IDE CF & SD Hot Swap Card Reader Kit
$175
- Fully Assembled & Tested
- Users Guide Included
- Pro Audio Equipment
Out of stock
Description
Akai MPC 2000XL ATAPI / IDE to Multi Flash Card Reader Kit | Hot Swap MCD Cream White
We found a very limited supply of the classic Hot Swap MC-2000XL Multi Card Drive units, available while supplies last. These units are 100% Hot Swappable, media can be inserted and removed with the MPC turned on! If needed, download the installation manual from the Big Noise MPC website. Currently available with Cream White face-plates, more options coming soon. All MC-2000XL units are brand new, no MPC 2000XL mods required. Instruction manual, mounting screws, data and power cables included. This unit comes equipped with the bottom mounting holes needed for MPC 2000XL installation. This is a quality Hot Swap MCD kit available at a great price point, one media card is included with the kit. The Akai MPC 2000XL OS 1.20 must be installed first before connecting the Card Reader. MC-2000XL units are assembled per order.
The MC-2000XL Media Card Drive allows you to move sounds from PC to MPC and back. Memory card access time is much faster than floppy and zip disk drives. Why keep your 3.5 floppy or zip drive when you can upgrade! Replace your old floppy or zip drive with this card reader kit. That’s about 715 floppy disks on one fast access removable SD card. Archive and save up to 997MB of all of your favorite drums, samples, sequences and songs on one media card! Older 1GB flash cards work best. 2GB, 4GB and 8GB Media cards can be used. Media larger than 1GB will need to be partitioned and formatted. See partition instructions below. These are the original units sold by Big Noise MPC and MPCStuff between 2009 and 2012.
PLEASE NOTE: You must install Akai MPC 2000XL OS version 1.20 before installing the drive. You can purchase the 1.20 OS Upgrade on floppy disk, or Download for FREE from our online store. Using OS version 1.20 will allow you to move files between your computer and your MPC (using MAC or Windows platforms), however this Akai OS version will only recognize 1GB (997MB) of memory on your media card. These new card readers no longer support MPC 2000XL OS 1.14 due to internal firmware changes. Some SD cards will not work with this card reader. Legacy media cards that operate at 15MB/S transfer speeds usually work best. You may have to experiment to find cards that work with your unit.
Akai MPC 2000XL v.2 Hot Swap Card Reader | MC-2000XL by Big Noise MPC
These are the card readers (updated v.2) we used on the custom wood Akai MPC 2000XL units we fabricated back around 2009. They are 100% hot swap compatible and are one of the best multi card flash drive units of it’s kind. As of August 2021, we just purchased some limited edition new stock from the manufacturer. Order yours today while their still in stock.
How To Partition and Format SD or Compact Flash Cards to 1GB: Reducing the partition size of a Secure Data (SD) or Compact Flash (CF) card for use with Akai MPC 2000XL:
01. Open a command Window (Windows-> Start -> cmd). 02. Type “diskpart” A new window will open up with a “diskpart>” prompt. 03. Type “list disk”. 04. Select disk n (where n is the number of your CF card). 05. Type “list volume”. 06. Select volume n (where n is the number of CF card volume). 07. Type “clean all” (this completely re-formats the disk – it will take a while and appear to hang but be patient). 08. Type “create partition primary” (this gives the newly formatted CF card a partition so it can be resized). 09. Type “shrink querymax” This will tell you how much space is currently on available on your CF card. Subtract this from the file-size in MB you want for the final disk than add 1. For a 2GB disk, shrink querymax returns: “The maximum number of reclaimable bytes is: 1954MB” We want a final disk size of 1GB (997MB) so 1954 – 997 + 1= 998. 10. Type “shrink desired” = 998 (This tells diskpart to try and shrink the disk by 998 MB). 11. Now that the disk is the right size, you can format the partition… Type “format fs=fat label=volumelabel” (“volumlabel” can be any name you want i.e. “mpcdisk”). 12. The media is now 1GB (997MB) and ready to use in the MPC 2000XL. Type “exit” to leave the command window.
Akai MPC 2000XL ATAPI | Replacement Parts & Accessories | ★ ★ ★ ★ ★
FEATURES:
- MC-2000XL Hot Swap Multi Card Reader Kit | Cream White
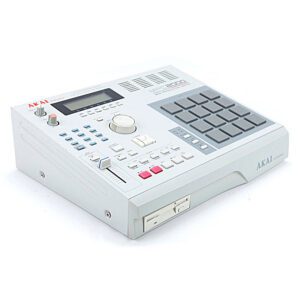
- Compatible with Akai MPC 2000XL Workstation / Drum Machine
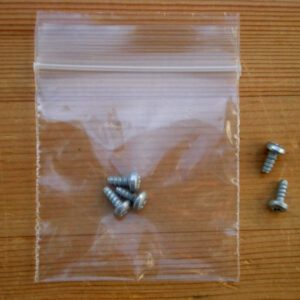
- Includes: MCD Data Cable, Power Cable & Mounting Screws
- Includes: Formatted CF Card | 1GB MPC 2000XL Compatible
- Includes: Akai MPC 2000XL OS on Floppy Disk | Version 1.20
- Includes: Drum Sample Kit “Tactical Drums” v.01-04 Military Drum Arsenal
- Unit Features Bottom Mounting Holes (standard floppy drive spacing)
- Standard IDE / ATAPI Interface | Akai MPC 2000XL Internal MCD
- Compatibility: Akai MPC 2000XL | Windows PC | Macintosh PC
- Data Transfer Rate: 43096 KB/S | Best Media Data Rate: 15 MB/S
- Media Storage Capacity: 1GB (1024MB) via Akai MPC 2000XL OS 1.20
- Media Type: Secure Digital (SD), CF (I & II), Smart Media, Memory Stick, Micro Drive, Multimedia Card
- Product Dimensions: W 102.0mm | D 130.0mm | H 25.4mm
- Product Weight: MCD Unit 14.00 oz | MCD Kit 16.30 oz
Handling: 10 to 15 Days
Shipping: This product is shipped USPS Priority Mail. Other shipping options available upon request.100% SATISFACTION GUARANTEED | QUALITY PRODUCT FROM BIG NOISE MPC
Shipping Info
Weight 1.25 lbs Dimensions 9 × 6 × 3 in Documentation
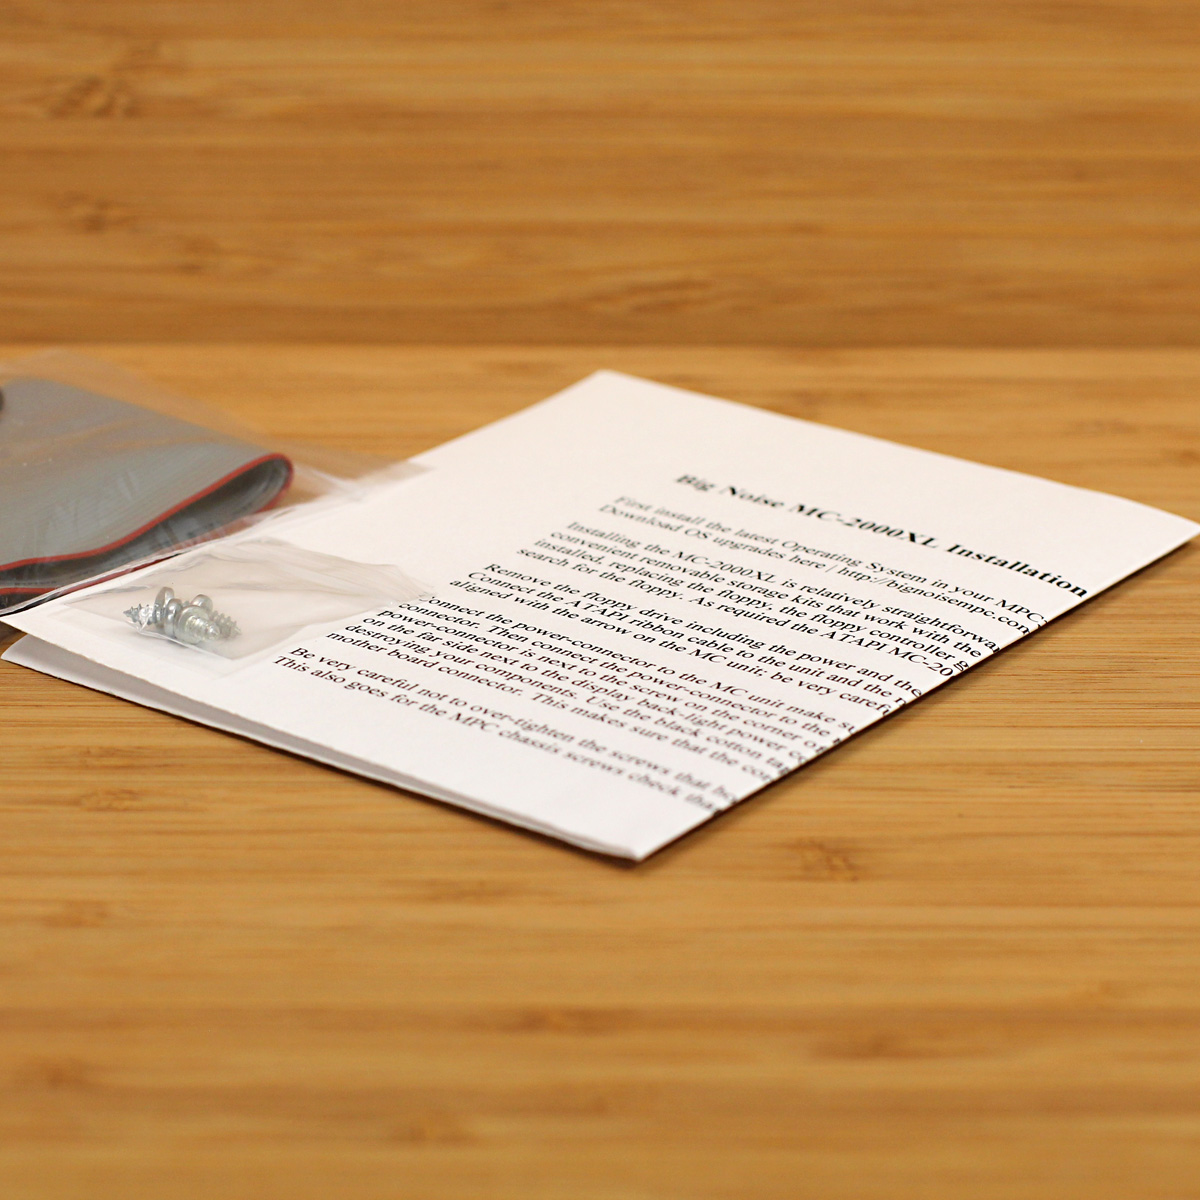
Big Noise MC-2000XL Installation Instructions (Floppy Replacement)
First install the latest Operating System in your MPC2000XL - OS Version 1.20 Download OS upgrades here | http://bignoisempc.comInstalling the MC-2000XL is relatively straightforward and simple. This ATAPI unit is one of the convenient removable storage kits that work with the MPC2000XL. Also, when an ATAPI card reader is installed, replacing the floppy, the floppy controller gets disabled by the system and the MPC doesn't search for the floppy. As required the ATAPI MC-2000XL unit is shipped configured as MASTER.Remove the floppy drive including the power and the data cable. Replace the floppy with the MC unit. Connect the ATAPI ribbon cable to the unit and the main board; make sure the arrow on the ribbon cable is aligned with the arrow on the MC unit; be very careful to align any connector guides for Pin One.Connect the power-connector to the MC unit, make sure the RED wire is facing the red side of the power connector. Then connect the power-connector to the main-board, make sure that the RED wire on the power-connector is next to the screw on the corner of the main-board. The GREY or WHITE wire must be on the far side next to the display back-light power connector. Reversing the drive polarity can result in destroying your components. Use the black cotton tape in the kit to secure the power connector to the MPC motherboard connector. This makes sure that the connector remains firmly fastened during MPC use.Be very careful not to over-tighten the screws that hold the MC-2000XL to the MPC they can strip easily. This also goes for the MPC chassis screws check that screws are aligned straight when starting the threads.COMMON THINGS TO CHECK IF YOU ARE HAVING PROBLEMS:
1. Make sure that OS 1.20 is loaded in your MPC. This is needed to recognize the ATAPI Card Reader. Make sure the SD or CF media is formatted in FAT protocol (File Allocation Table), so the MPC will recognize it.2. The RED stripe on the ribbon cable indicates Pin ONE of the cable: Make sure the ribbon cable is connected properly; If there is an arrow on your ribbon-cable make sure it is aligned with the arrow on the MC unit; pin ONE of the MC-2000XL unit is on the opposite side of the power connector. Pin ONE of the MPC main-board connector is opposite the screw on the corner of the main-board. Make sure the ribbon cable is firmly seated in the main-board and MC unit connector.3. If the MC unit light does not come on, it's usually a sign of a power supply problem. Make sure the power connectors are seated properly. Make sure the MC unit is powered from the MPC’s 5Vconnector and that the RED wire is at the corner of the PCB.4. The MPC should automatically detect the ATAPI device and replace FLOPPY with ATAPI in the “Load” and “Save” screens. If not, there is a problem.5. If the MC-2000XL unit doesn't appear to be working, please call 408-220-4797 for support.Note from Akai: This is done at your own risk! Installation of internal drives of any sort is not officially endorsed by Akai EMI. Doing this may void your warranty.


